ACER TravelMate 5320 screen replacement
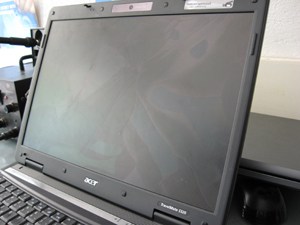
Here we gonna show how to replace the damaged sreen of ACER TravelMate 5320.
First, unplug the power supply and remove the battery for safety.
After that, remove the screw covers, and remove the screws from the front bezel.

The next step is to remove the front bezel. This is done with help of a small slot screwdriver. Make this step very carefully, because very easy can damage the front or rear bezel.

After removing the front bezel, we have this picture:

Next, we release the screen from the brackets. On the both sides there are by 4 screws.

After that, we have this picture:

We remove the flat cables from webcam and from the screen, and the jack from the inverter:


After that, we remove the damaged screen and replace it with the new one. The steps are the same as removing the old screen, just backward: First, we attach the cables, later mount it on the brackets. After that, we can test is it work?
Yes, it’s working, so we can assemble the front bezel.

Finally, the screen is replaced.

2 Comments
Useful article. Had to replace one of these today.