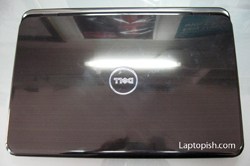
DELL Inspiron N5010 power jack replacement
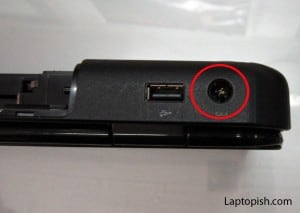
Here we have a DELL Inspiron N5010 with broken power jack.
We need to replace the power jack. To do this, we need to disassemble the laptop first.
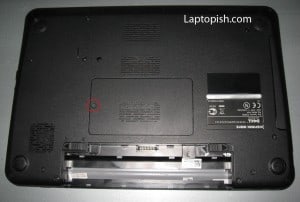
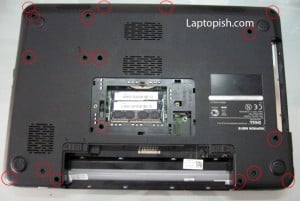
So we begin with disassembling of the laptop. We start with removing of the ram memory cover. As shown on the picture, we need to remove the screw assigned with red circle.
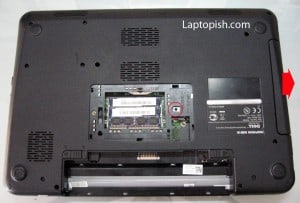
Next we remove the screw that hold the optical drive and after that remove the optical drive in direction of the red arrow, as shown on the next picture.
Next we remove all the screws from the bottom assigned with red circles on the next picture.
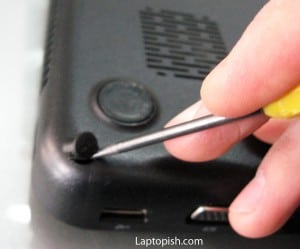
On the four corners there are rubber cover that need to be removed first.
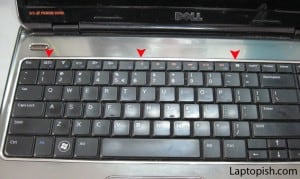
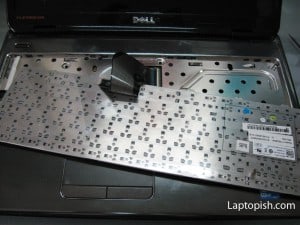
When we are done with this, we continue with the upper side. First we need to remove the keyboard. The keyboard is hold by couple holders (assigned on the next picture with the red arrows).
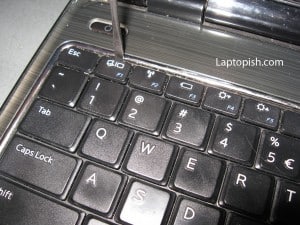
We use this tool how we can release the holders.
When we release the keyboard we detach the flat cable and the keyboard is free.
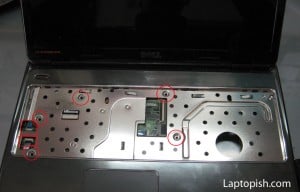
Under the keyboard there are couple screws that need to be removed (assigned with circles on the next picture) and two flat cables (assigned with squares on the next picture).
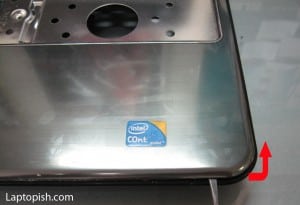
After this step we can remove the upper cover.
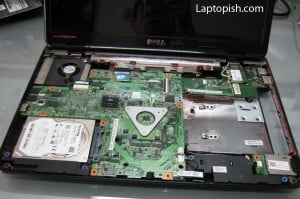
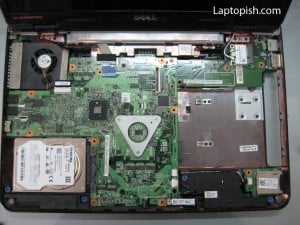
And these is what we have under the “hood”.
Now we need to remove the screen assembly. To do this, first remove the screws from the brackets, assigned on the next picture.
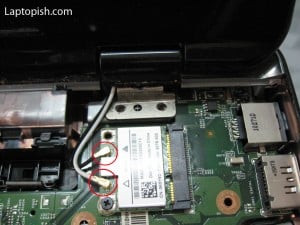
Next we detach the antennas from the WLAN card.
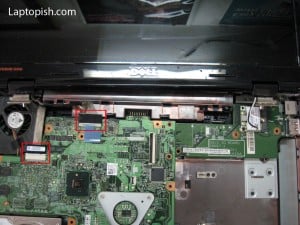
Also detach the flat cables for the display.
Now we can remove the screen assembly. Next we do is to remove these two screws on the next picture.
Next we remove the bracket from the back side.
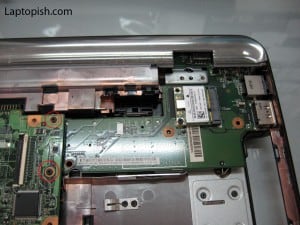
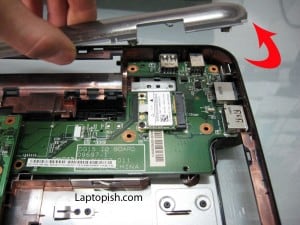
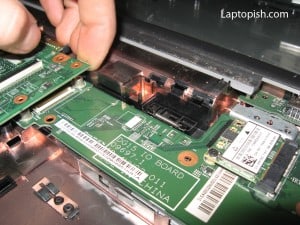
After this done we need to lift the motherboard little bit to release the circuit board from the connector and we can remove the power jack board.
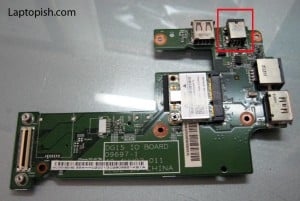
Here we have the power jack board out from the laptop. With red square is assigned the power jack.
At this point you decide are you gonna replace only the power jack or the whole power jack board. Replacing the whole power jack board is more easy but is more expensive. So that’s why we gonna replace only the power jack.
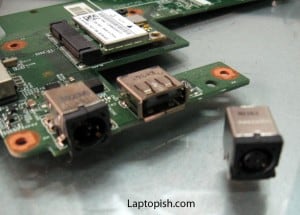
Here we have the new power jack compared to old power jack.
We first remove the old power jack, clean the board and than solder the new power jack.
After this, only thing that left is to assemble the laptop and the job is done.
4 Comments
Hi, I followed your instructions to change my power jack on my dell Inspiron N5010, Easy to understand and really grateful that you helped me. Got the parts and Ready to put it back together. By the way do you sell these kind of parts?
Thanks William Chenier
No, we don’t sell these parts, we just do a repairs.
i have the same problem did you repair your dell inspiron
Yes