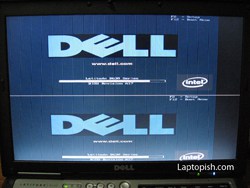
DELL Latitude D630 double image VGA problem
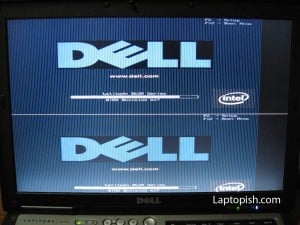
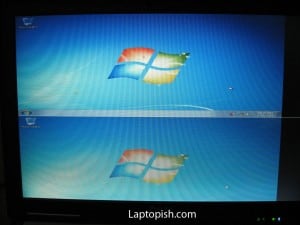
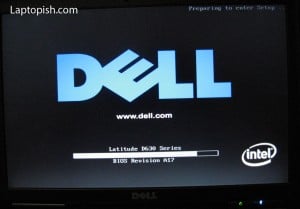
Here we have a DELL Latitude D630. It’s a little 14.1 inch model, but it have a very good performance. It has a NVIDIA Quadro NVS 135M Graphic Card and Core2Duo T7300 Intel Processor (2.0GHz, 4MB cache). And everything is good until its cooler gets full with dust and it comes to overheating of the graphic card. Because the overheating we have this problem, as show on the next two images.
So we can fix this, we need to disassemble the laptop and do a rework on the VGA chip.
We gonna show this procedure step by step.
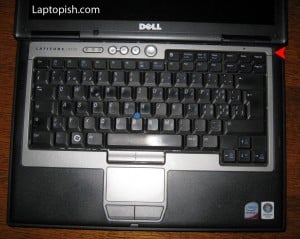
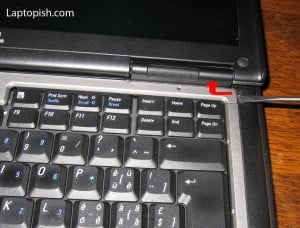
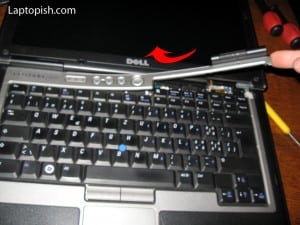
First we need to remove the cover assigned with red arrow on the next picture.
We do this as shown on the next two pictures.
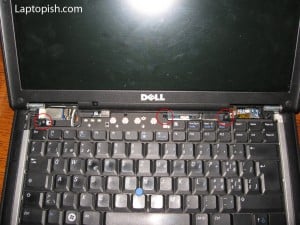
After removing this cover, we can access the screws that hold the keyboard, assigned on the next picture with the red circles.
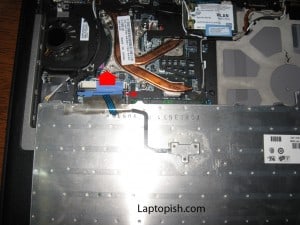
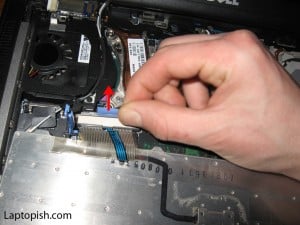
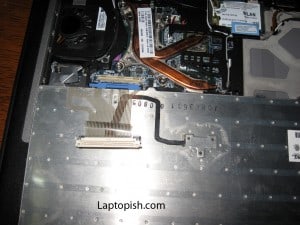
After removing these screws, we flip the keyboard. Beware of the flat cable. There is a lock that first need to be released,
and then we remove the flat cable by pulling in the direction of the red arrow.
Now we can remove the keyboard.
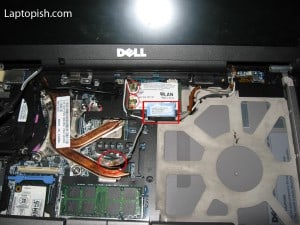
After that we need to remove the screen assembly. To do this, we first need to remove all the cables that go to the screen assembly – monitor flat data cable and all the cables that connect the antennas, assigned on the next picture with the red color.
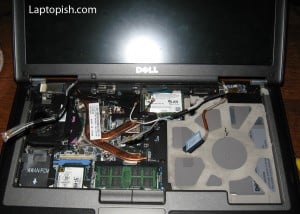
After this, all cables that go to screen assembly are detached.
Next we only need to remove the screws from the bottom that hold the screen assembly.
It’s the same on the other side.
After removing these screws we remove the screen assembly.
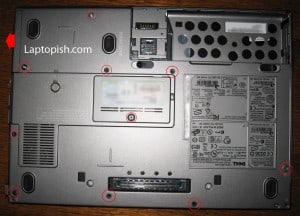
Now we need to remove all the screws that are left from the bottom side, assigned on the next picture.
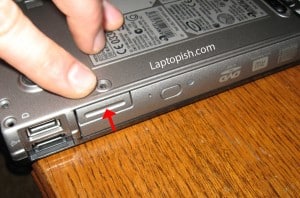
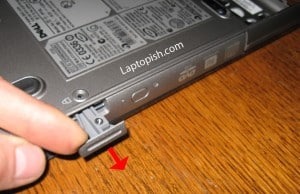
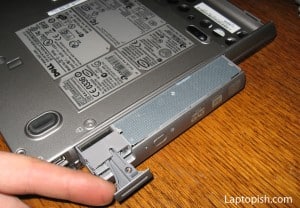
Next we remove the optical drive. Press the button assigned with the red arrow,
and it will come out.
Now just pull it out.
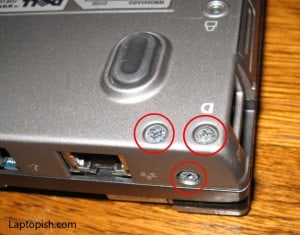
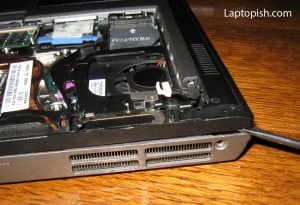
There are three screws from the upper side that need to be removed.
After this, we can remove the cover.
But beware of the CMOS battery,
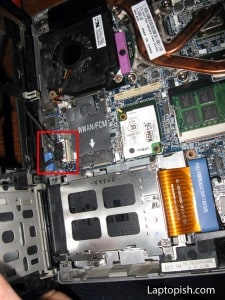
and the touchpad+bluetooth cables.
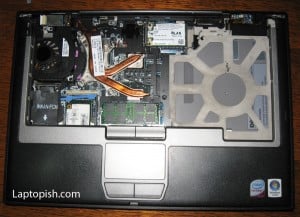
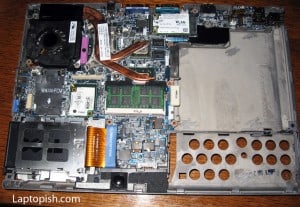
After removing the cover we have this situation.
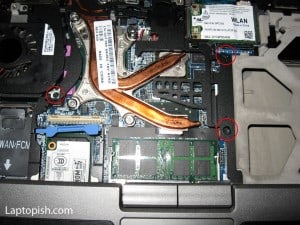
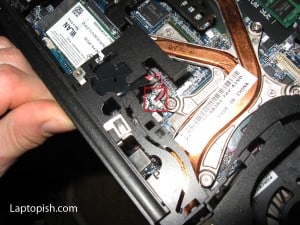
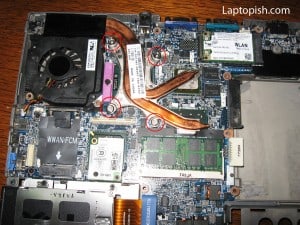
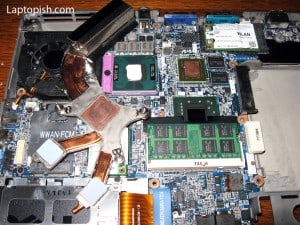
After this, we need to remove the the cooler. There are four screws that need to be removed.
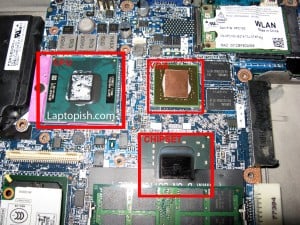
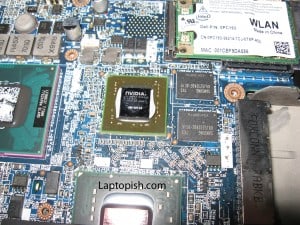
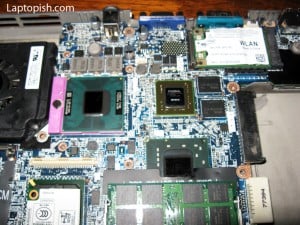
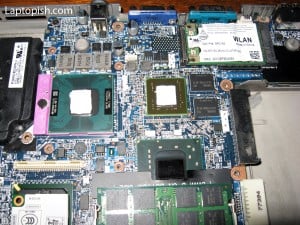
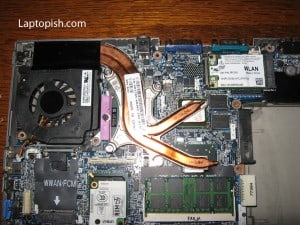
After removing the cooler we can see the CPU, VGA and chipset.
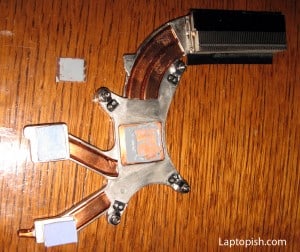
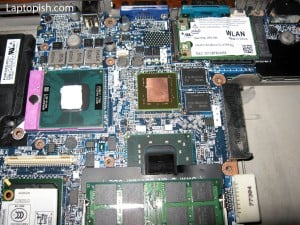
As we see from the previous picture there is a thin copper plate on the VGA chip that full the gap between the cooler and the chip and help to improve the thermal conductivity. Now we can remove the copper plate.
After this step we need to clean the old thermal paste before we do the rework.
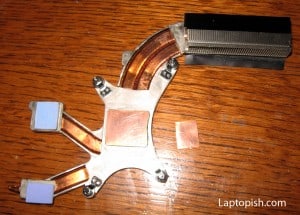
After this we do the rework of the VGA chip (GPU). Until he chip is cooled, we clean the cooler.
Before cleaning:
After cleaning:
After this step, we apply thermal silicone paste on the CPU and the GPU.
Then we mount the thin cooper plate on the top of the GPU.
After this we mount the cooler.
After this we need only to assemble the laptop and the job is done.
10 Comments
what exactly will yu be doing on the vga chip, when yu are saying yu ” do the rework of the VGA chip (GPU).” pliz tel me in detail.
The rework of the chipset is shown with video in our previous post. For the DELL is the same but thw rework is made on the VGA chip.
use gordak 952 to hit 400 c heet .for 2 min
to resolde bga soldring again
if you search re heat vga chip you know
Thanks! It work!
Should we put some thermal paste between the thin copper plate and the cooler? Wouldn’t some Arctic Silver 5 Polysynthetic Silver Thermal Compound Paste help transfer heat from the thin copper plate to the cooler?
Yes of course there should be applied thermal paste between copper plate and the cooler.
I followed all the steps but when I turned on the laptop I still had the same problem. Do you have any idea what else it could be?
Do you actually make a rework of the GPU chip. If you do, and you still got the same problem, you should do a “rebolling” of the GPU.
I followed all the steps but when I turned on the laptop I still had the same problem. Any suggestion??
If you cannot repair it with a rework, then you need to take your laptop to a rebolling.