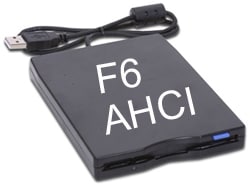
Install AHCI driver from floppy during the Windows XP installation (“F6 floppy”)
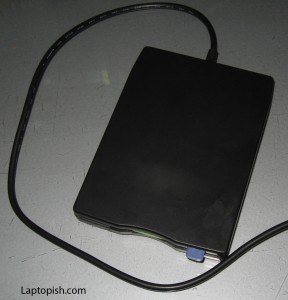
Here we gonna explain how to install Windows XP on a laptop with AHCI Controller, with help of the USB floppy drive.
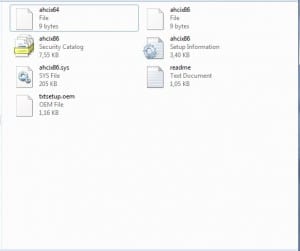
Next, we need to have the right AHCI driver for our AHCI Controller. The content of the driver we copy on the floppy diskete drive (from 1.4MB). Here on the next picture is given a example how it should like the content on the floppy.
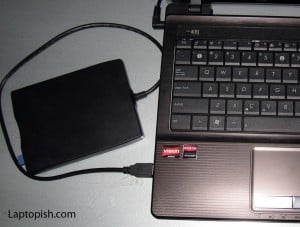
After this step, we put the floppy disk in the floppy disk drive, plug the drive in the USB port of the laptop and we start the laptop.
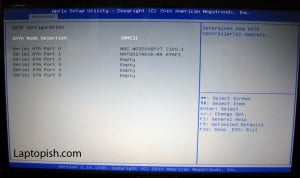
Next we enter in the BIOS. Make sure that “SATA Mode” is set to be “AHCI”, and first boot device is CD.
We place the genuine Windows XP CD in the CD-ROM drive, we save the BIOS changes and Exit.
Next will be promt “Press any key to boot from CD…”. We press some key from the keyboard, and quickly after the blue background will be shown, on the bottom of the screen we gonna see a text message “Press F6 if you need to install a third party SCSI or RAID driver . . . ” Here we press F6 button on the keyboard.
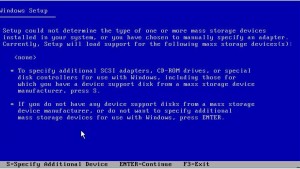
After loading the Windows XP files the setup will stop at this screen:
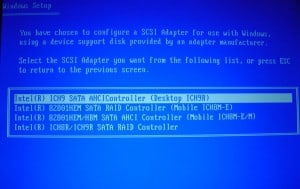
Here we press “S” on the keyboard, to specify the driver from the floppy. It will be shown a list of drivers that are on the floppy:
Usually there is a list of two drivers, one for 32 bit operating system (x86), and one for 64 bit operating system (x64). We select the correct driver from the list and press Enter to continue with the installation.
After this step the installation is the same as standard Windows XP installation.

2 Comments
my ASUS x101h has got screen display problem.it displays light on the keyboard but no display on the screen.last month i took it for repair and i was charged KSH 2500 in the name of ” flashing of the bios.”how can i do it because the same has happened again
Thanks- I was looking for information of how to make floppy with drivers- I have the drivers- it had a make disk but, just wasn’t working- but I can copy the drivers I need to the floppy and run f6.