Toshiba Satellite Pro M10 inverter repair (Dark image)
Here we gonna show how to repair the LCD inverter for Toshiba Satellite Pro M10.
When the laptop come to service had a dark image. But how we really now that the problem is the inverter?
In my case, i use a computer neon. When the neon is connected to the inverter, it should illuminate. In my case that don’t happen. The i connect the LCD panel from the laptop on a outside inverter and the panel iluminate. This is how i conclude that the problem is the inverter.
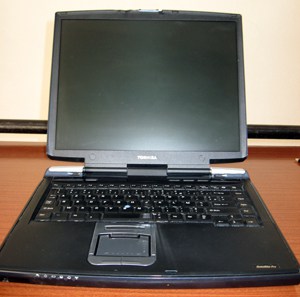
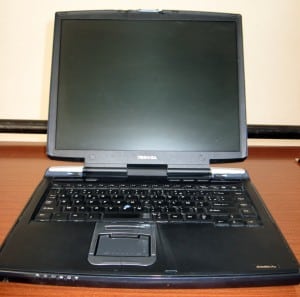
Here we have the laptop:
First, unplug the power supply and remove the battery for safety!
Security issues: Do not touch the inverter when the computer is ON – the output volatge is VERY HIGH!!!
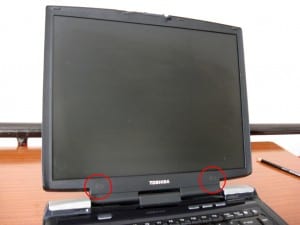
To access to the inverter, we need to remove the front bezel. The front bezel have only two screws. First we remove the screw covers:
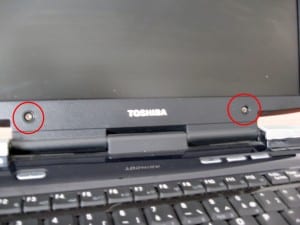
After that, we remove the screws:
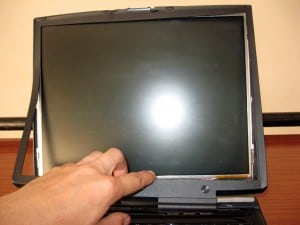
After that we remove the bezel, as shown on the next two pictures:
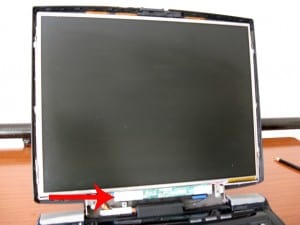
After removing the front bezel we can locate the inverter – pointed with the red arrow:
Next we remove the inverter. We need to remove the screw assigned on the next picture and unplug the connectors on the both side.
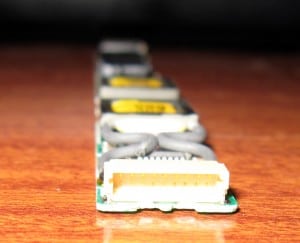
On the next picture is shown the “low voltage” side of the inverter:
and on the next picture is shown the back side of the inverter:
As i seed before, here also you can see the security issue – beware from high voltage.
Front side of the inverter looks like this:
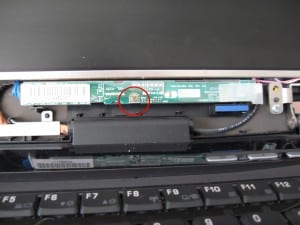
With the red circle is assigned the FUSE. When checked with the ohmmeter, the fuse show infinite resistance
Then we replace the fuse with the new one, but need to look out on the specifications. The new fuse should be exactly the same as the old one, because if there is another problem with the inverter beside the fuse, to damage only the fuse and prevent additional damage.
In my case we replace the fuse and the inverter works.
The only thing that left is to assemble the laptop.



Leave A Comment