Laptop adapter repair
Broken laptop adapter is common failure. So we need to now how to deal with it.
First thing we check is the power cable (cable from the socket to the adapter). If this cable is OK, then we check the adapter.
If the problem is the adapter, there can be a two things: electronics or broken wire.
In most cases the problem is broken wire of the adapter.
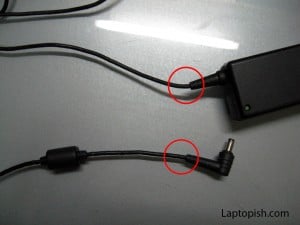
The most common places where come to the brake are assigned on the picture:
Here we have a case when the adapter don’t give output voltage, but the LED diode is ON. This suggest that the electronics is fine, but we have broken wire. We carefully inspect the cable and we see that on the side of the connector is suspicious (see the previous picture).
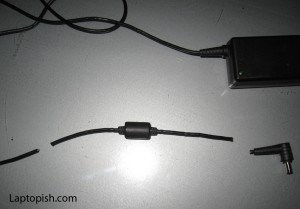
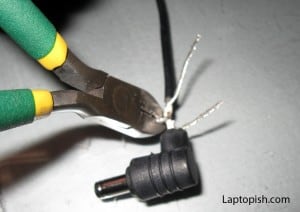
So we cut the cable on the suspicious place, as shown on the next picture:
As you can see from the picture we remove a peace from the cable that is twisted (suspicious).
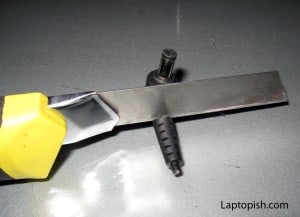
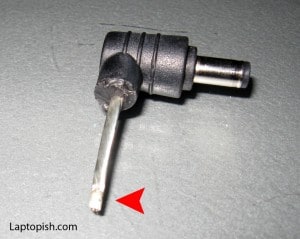
Next we remove the isolation on the connector.
But, be careful! Do not cut the wire.
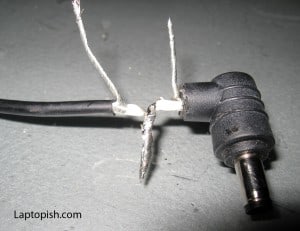
As we see from the previous picture, on the place assigned with the red arrow, we can see where the wire was broken.
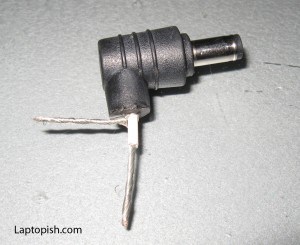
Next we twist the outside wire and remove the isolation from the inside wire.
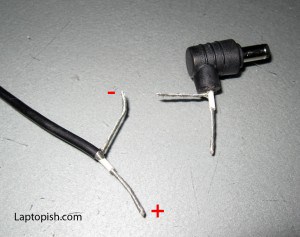
We do the same and with the other side of the cable:
On this point we can check the adapter. We plug in the adapter (but be careful do not make a short circuit between the wires assigned with ” + ” and ” – “).
If we measure the voltage, we should measure the voltage assigned on the adapter. If not, this mean that we have additional brake.
We also measure the connector. There should have resistance 0 Ohms between the inside wire and the inside side of the connector and also 0 Ohms between outside wire and outside side of the connector.
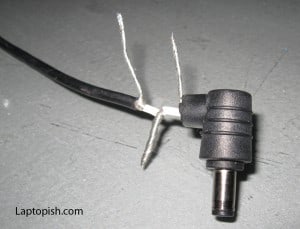
If the measures are OK, we connect the both inside wires, and both outside wires.
First we do this with the inside wire:
Then we solder the wires.
After the soldering we cut the excess wire.
After that we apply isolation.
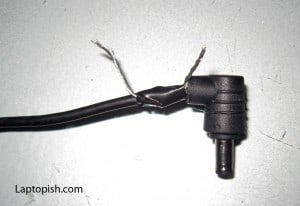
We do the same with the other wire. Firs we connect,
and the we solder the wires together.
But, during the soldering we should pay attention on the isolation, because easy can make short circuit.
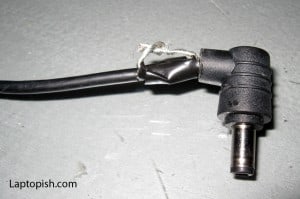
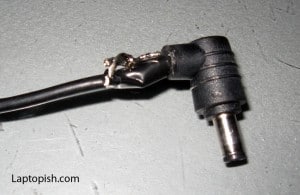
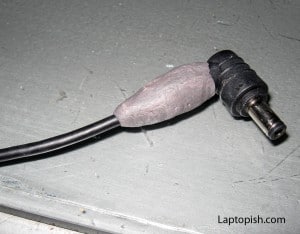
After this we apply the outside isolation. After a lot of research, we found the epoxy repair.
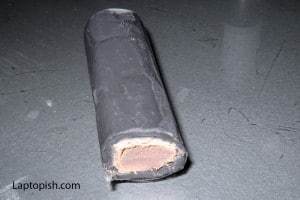
The epoxy repair is very good for this application. First, is a good current insulator. Also, it is very strong and secure the wires.
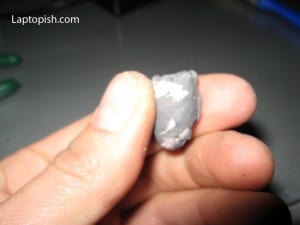
We cut a piece with the scalpel and we squeeze it until the mix become uniform.
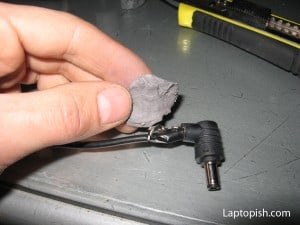
Later we apply it on the adapter cable.
The epoxy is shaping like a plasticine.
After this we wait the epoxy to dry. Later, for esthetic reasons we can paint the gray epoxy with a black marker.
The example shown here was for ASUS, who like many others have a two wires. But there are some adapters with the three wires, like DELL and HP. But the procedure is the same.
Leave A Comment