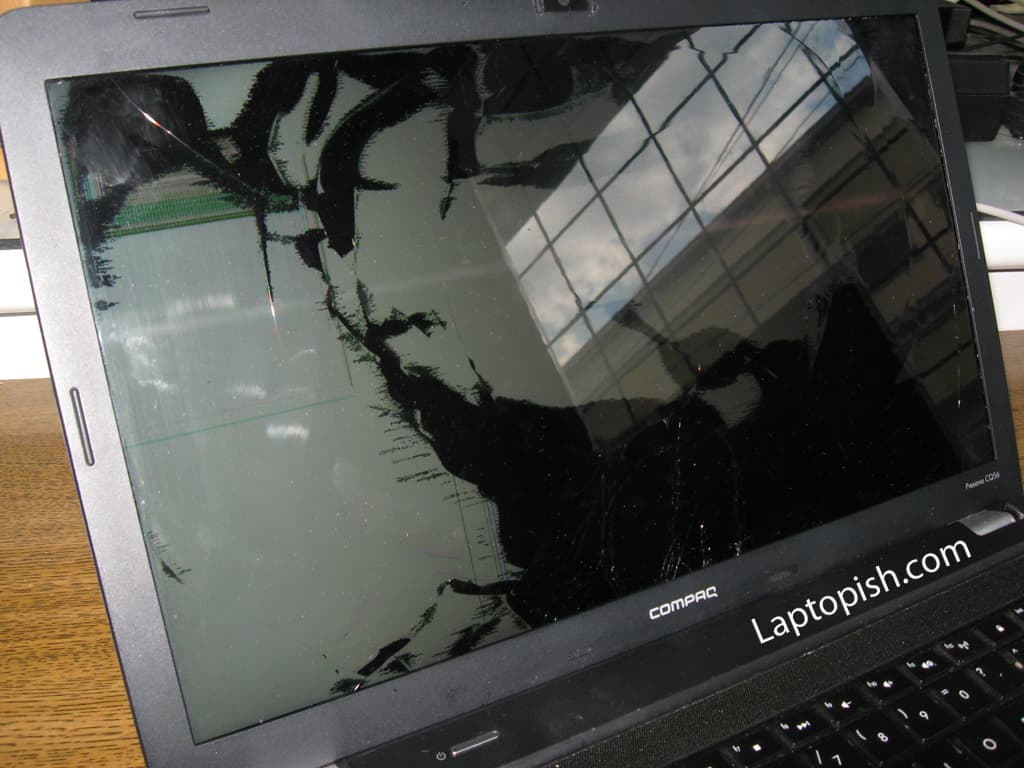
HP Compaq Presario CQ56 Display replacement
Here we have a HP Compaq Presario CQ56 with broken display. We need to replace the display. As we see from some previous posts, display replacement of HP Compaq model is very complicated. So here we gonna explain the procedure how to replace the display.
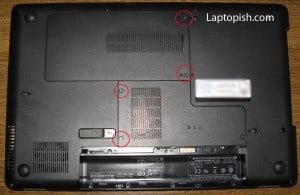
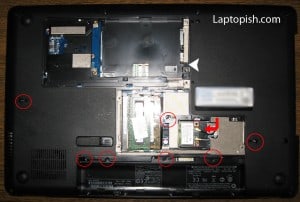
We begin with removing the covers of the RAM memory and the Hard Disk Drive on the bottom of the laptop. On the next picture with the red circles are assigned the screws that need to be removed so how we can remove the covers.
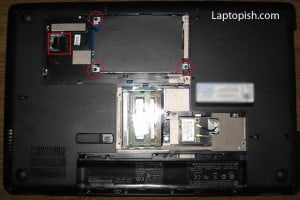
Next we remove the Hard Disk Drive. With red circles are assigned the screws that need to be removed and with the red square is assigned the cable that need to be detached.
On the next picture, with the red circles are assigned the screws that hold the keyboard. With the white arrow is assigned the screw that hold the DVD-RW (optical) drive. These screws need to be removed. With the red arrow are assigned the cables that connects the WLAN antennas, and should be detached.
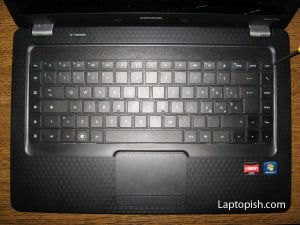
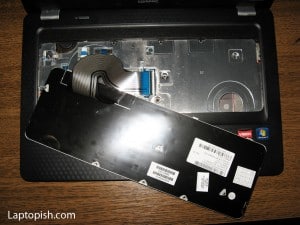
After that, we can remove the keyboard, on the way shown on the next picture.
But be carefull, beware of the flat cable.
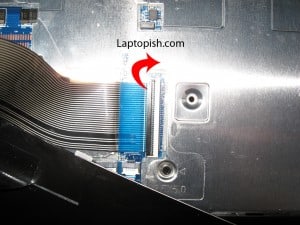
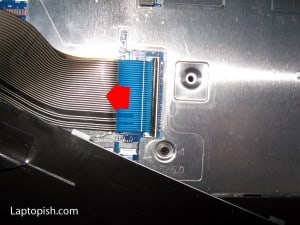
The flat cable’s get detach on the way shown on the next two pictures. First we lift the clip that hold the cable.
And on the next step we detach the cable.
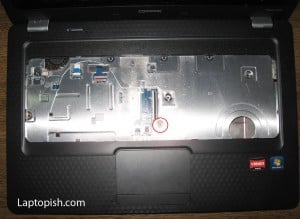
On the next picture is assigned a screw that need to be removed. Also need to be removed the flat cables that connect the touchpad.
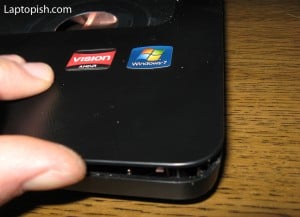
Next we can remove the upper cover, as shown on the next picture.
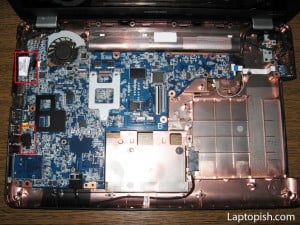
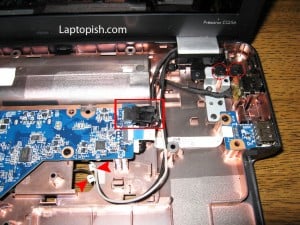
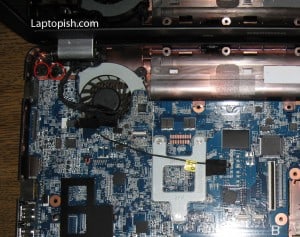
After removing the upper cover we reach to the motherboard. On the next pictures with the red squares are assigned the cables for the monitor and for the microphone. They need to be removed, so how we can remove the screen assembly.
On the right side is the cable that connects the webcam, and the cables for the antennas. We detach these cables. Also there are two screws that hold the screen assembly. We remove these screws at this step.
After this, we remove the screws from the left side, as shown on the next picture.
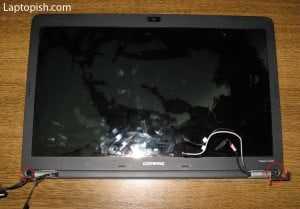
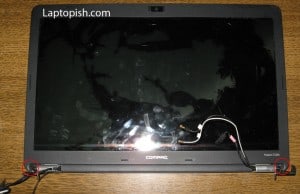
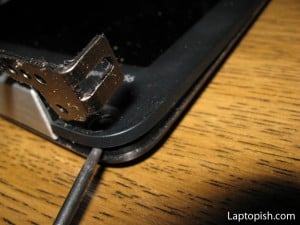
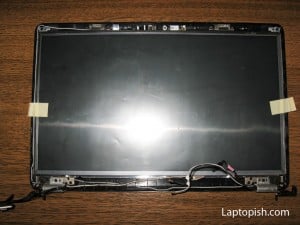
After this the screen assembly is released and can be detached and placed on the table. There are screw covers that first need to be removed.
And after that the two screws from the bottom of the display.
After that we can remove the front bezel, on the way shown on the next picture.
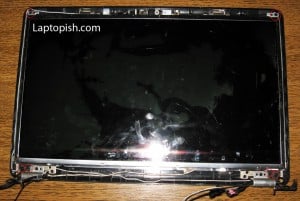
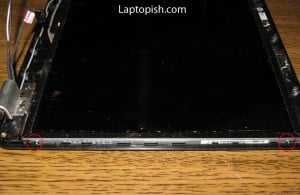
After that, we reach to the display. On the next picture are assigned the screws that need to be removed or loosen so how we can remove the screws from the sides that hold the display.
On the next picture are shown the screws from the side that hold the display. We need to remove these screws on the both sides.
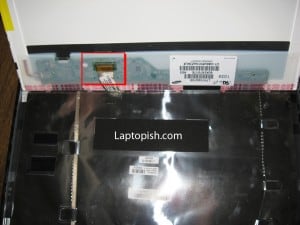
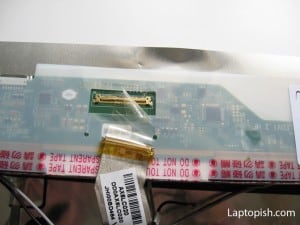
After removing these screws, we can raise the display, so how we can reach to the flat cable on the back side.
We remove the flat cable as shown on the next picture.
After detaching the cable we remove the old display and we mount the new display. We plug the cable and mount the screws from the sides.
After this, we need only to assemble the laptop. The assembly process is backward from the on shown here.
2 Comments
can someone provide me with a link or source from which i could get a lcd cable like the one used in photos 19 and 20, i would greatly appreciate it thanks.
http://www.ebay.com/sch/i.html?_sacat=0&_nkw=cq56+led+cable&_frs=1